These are the important clips, skips, and tricky jumps that can be used to sequence break Zyphoid.
Contents
Space Station Skip
Where
Space station (opening sequence)
What / How
The windows in the space station have no glass in them and are large enough for a morph ball to fit through. By jumping out the first window and briefly going out of bounds, a line of sight trigger can be activated, bypassing the intended sequence for this area.
Video
Clip: Space Station Skip
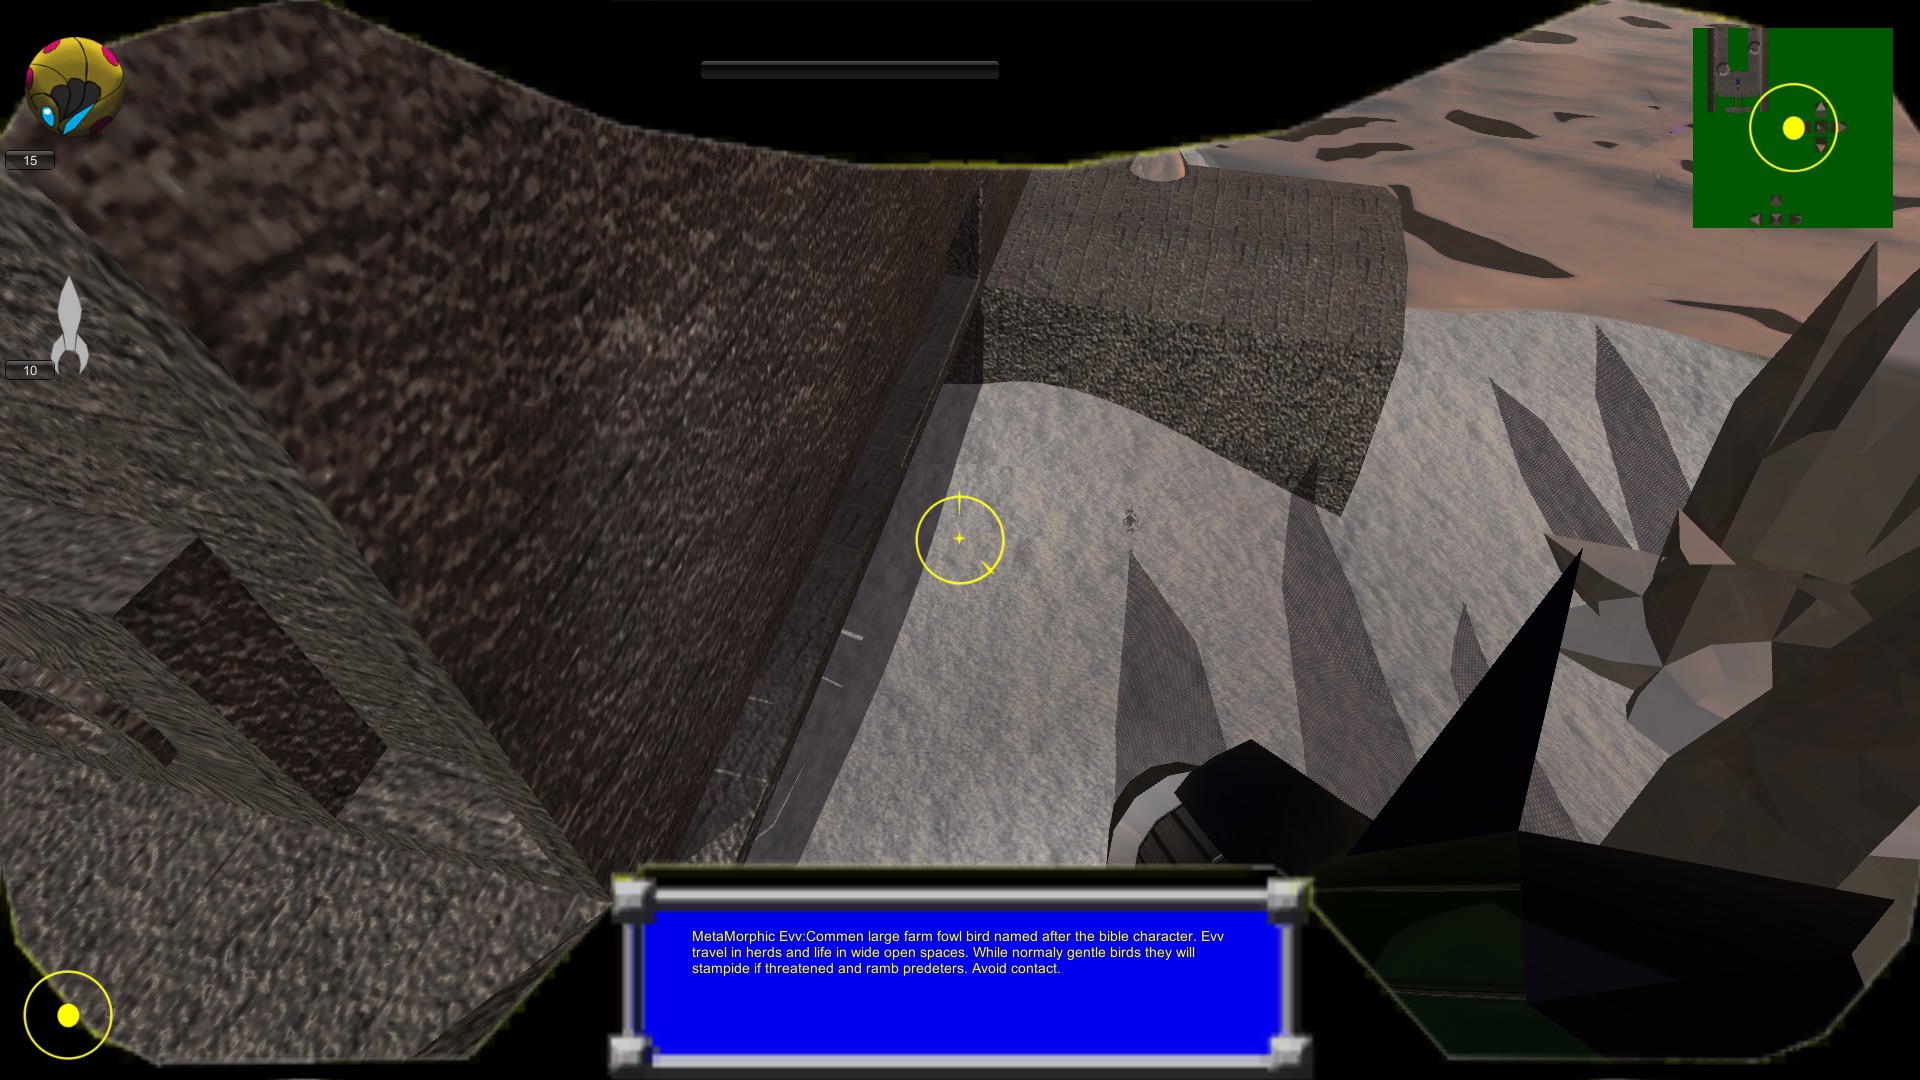
Ice Crystal Jump
Where
Zyphamin Overworld - Northwest Region
What / How
By climbing the large ice crystal next to the building with a mockball trigger, it is possible to jump onto the roof of the building and drop through a hole in the roof to the mockball room.
Video
Clip: Ice Crystal Jump
This jump is very tight: you need to stand on the very tip of the crystal, and align your jump to the very closest edge of the roof. Your shadow on the ground below can be used to help get set up on the tip of the crystal.
Screenshot
Using the shadow to check position on the tip of the ice crystal
Elevator Skip
Where
Zyphamin Overworld - Northwest Region
What / How
By using the levitating corpse of a chocobo as a platform, it is possible to clip up into the elevator to Snowdrop Caves.
Video
Clip: Elevator Skip
First, lure a chobo into the space underneath the elevator room. Balance it on top of Dugon’s head near the middle of the area (rolling into it as a morph ball and then unmorphing helps with this). Next, adjust its height by making slight positioning changes. A good visual indicator for an acceptable height is when it starts flickering in and out of existence as it rapidly spins on Dugon’s head. Kill the chocobo, and then quickly jump on to its corpse as a morph ball (and then unmorph?). Don’t jump from too close or too far away from the corpse.
This one is tricky, it takes a bunch of practice to get a good enough feel to be able to pull it off semi-consistently.
Void Jump
Where
Snowdrop Caves / Sunken Frigate
What / How
In Snowdrop Caves, in the room with a zyphoid that is down the tunnel after collecting the space jump, an out of bound clip can be used to cross the empty void between Snowdrop Caves and the fast-travel subway station below the Sunken Frigate.
Video
Clip: Void Jump
Run to the corner of the room forwards and to the right from where you enter. Angle yourself into the corner so that you are facing northeast. Go into morph ball and use space jump to clip out of bounds. Hold forward as you are falling and you should land on the subway train.
Invisible walls block the way in to the subway station, but you can roll along the edge of pipe to your right to bypass them (this is very tight - go any distance left onto the pipe and you get sucked into an invisible wall, any distance right and you fall off). Once in the subway station, you can clip up into the bottom of the Sunken Frigate and collect the ultra beam.
Video
Clip: A faster clip in to the ultra beam room
Dolley Cutscene Skip
Where
Underground Greenhouse - Hallway before Toxoid’s room
What / How
Outside Toxoid’s room is a large trigger area on the floor for the cutscene where Dolley arrives on the planet. By rolling along the ledges near the top of the wall, or by clipping in and out of the side wings of this area without entering the main hallway area, it is possible to skip triggering this cutscene. Skipping the cutscene saves between 8 and 10 seconds.
Video
Clip: Dolley Cutscene Skip
Chozo Statue Skip
Where
Underground Greenhouse - Miniboss arena
What / How
By avoiding the trigger that starts the Chozo Statue miniboss fight, the statue can be destroyed and morph ball bombs collected without having to watch the cutscene that begins the fight. Upon entering the room, immediately strafe sideways and hug the walls to avoid the trigger region. The inactive statue can then be killed with melee missiles and morph ball bombs collected. Make sure to hug the walls again on the way out of the room to avoid activating the fight.
Video
Clip: Chozo Statue Skip
Temple Orb Skip
Where
Zyphamin Overworld - Temple of Storms (Southwest Area)
What / How
In the Temple of Storms, there are three Chozo statues holding orbs. The intended solution for this is to activate the three orbs by shooting one each with the ice beam, wave beam, and plasma beam. Both the ice beam and plasma beam emit multiple beams per shot. By hitting the ice orb and/or wave orb with multiple beams in a single frame, it is possible to bypass the plasma orb.
Video
Clip: Temple Orb Skip
The easiest way to line up a shot to hit the orb with multiple beams in one frame is to stand on top of the statue and aim directly down at the orb. This setup doesn’t work 100% of the time, but it seems to work about 90%-95% of the time.
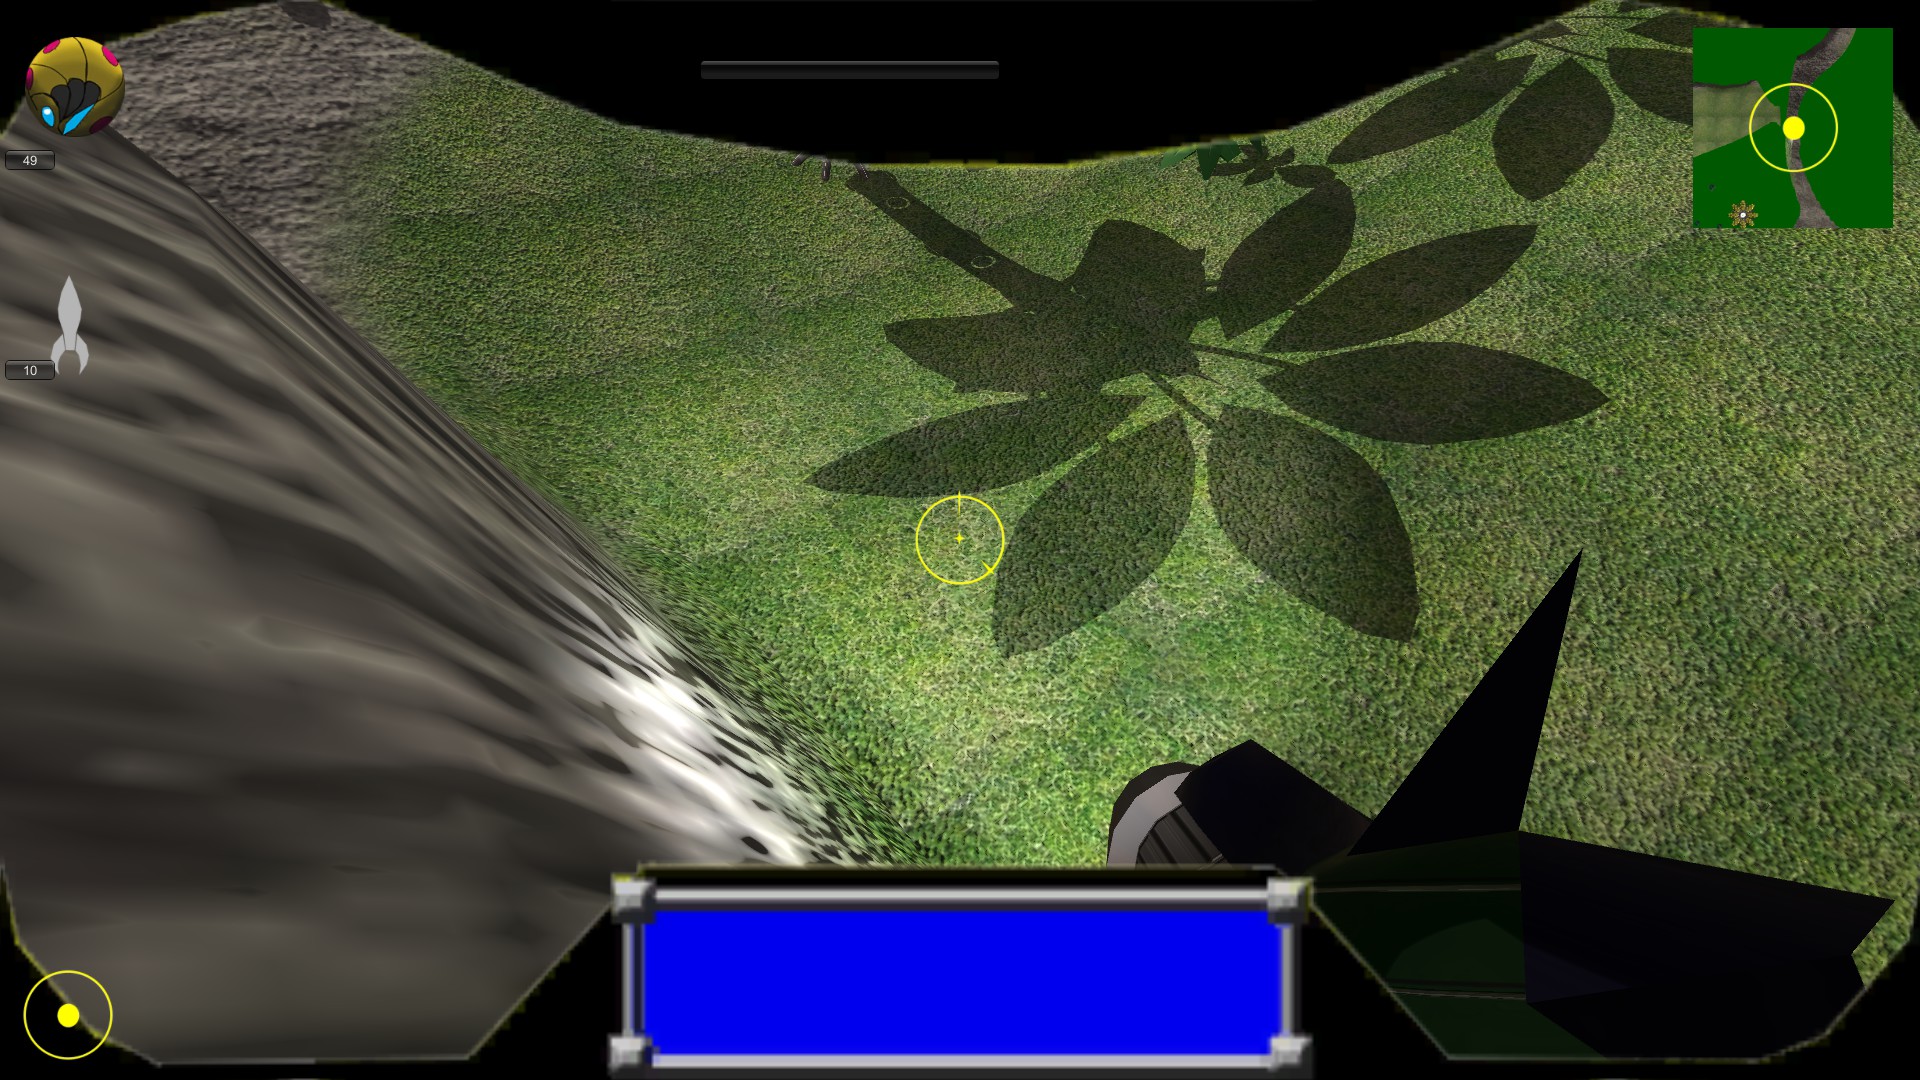
Great Barrier Skip
Where
Zyphamin Overworld - Alongside the volcano between the ship and the Temple of Storms
What / How
By using a stored missile at an appropriate distance, it is possible to break the Zyphoid Queen’s tank and warp into the final boss fight
Video
Clip: Great Barrier Skip
To set up positioning for barrier skip, stand in the space between the shadow of the two leaves near the side of the volcano. By moving the missile reticule over ground and the side of the volcano, you can find the position of the Zyphoid Queen’s tank when missile targeting suddenly locks on to something. If you are aligned correctly, the target lock position requires looking slightly down and to the left when facing the volcano. If you are in position and cannot get a missile lock, you may need to move slightly closer to the side of the volcano.
Store a missile at an appropriate distance and turn to face the target lock position. Getting the correct missile distance is tricky and requires practice. If set up correctly toggling the missile on and off will cause a boss damage sound, and after enough hits a glass breaking sound. Continue toggling the missile on and off until the boss fight begins. The Zyphoid Queen’s tank requires many (100?) missile hits to break.
Screenshot
Position yourself in the space between the shadow of these two leaves
Screenshot
Target lock requires looking down and to the left when facing the side of the volcano
